
Common Indoor Climbing Techniques Every Beginner Should Master
Learning to climb isn't just about strength—it's about mastering a set of techniques that make scaling walls efficient and enjoyable. Once you've got your essential climbing gear sorted out, it's time to focus on developing these fundamental skills that will dramatically improve your climbing experience.
Body Positioning: The Foundation of Climbing Technique
Before worrying about specific moves, understanding how to position your body on the wall creates the foundation for everything else.
Center of Gravity
Your center of gravity (roughly around your hips) should generally stay:
Above your feet whenever possible
Close to the wall for stability
Aligned with your strongest foot hold
When you feel off-balance, check your hip position first. Simply adjusting where your hips sit can transform an impossible-feeling move into something manageable. This applies to all climbing environments, whether you're transitioning from gym to outdoor climbing or staying indoors.
The Three Climbing Stances
Master these three basic body positions to navigate different wall angles:
1. Square Stance
Hips parallel to the wall
Weight distributed evenly between both feet
Best for: Face climbing, vertical walls, and standing on large holds
2. Open Hip Position
One hip turned toward the wall
Allows for greater reach with the opposite arm
Best for: Side reaches, maintaining balance on small footholds
3. Drop Knee
Turn one knee inward, pointing it toward the ground
Hip on the same side presses into the wall
Best for: Creating tension, stabilizing during extended reaches, resting positions
Learning when to use each stance will dramatically improve your climbing efficiency and is covered extensively in our Strength Training for Indoor Climbers guide.
Footwork: Where Good Climbing Begins
While beginners often focus on arm strength, experienced climbers know that proper footwork is the true secret to successful climbing.
The Three Essential Foot Placements
1. Edging
Using the inside or outside edge of your climbing shoe
Perfect for small ledges and tiny footholds
Focus on precision placement—the smaller the foothold, the more precise you need to be
2. Smearing
Pressing the sole of your shoe against the wall when no obvious footholds exist
Relies on shoe rubber friction against the wall
Keep your weight directly over the foot and apply downward pressure
3. Toe Pointing
Using the tip of your climbing shoe to stand on smaller holds
Enables precision on tiny features
Focus weight on your big toe for maximum control
The Silent Feet Drill
The most effective way to improve footwork is practicing "silent feet":
Climb easy routes focusing exclusively on foot placement
Place each foot deliberately and silently
No adjusting once placed—if it's wrong, lift and place again
This builds precision and body awareness
This drill helps develop the footwork fundamentals that we discuss further in our Indoor Rock Climbing for Beginners guide.
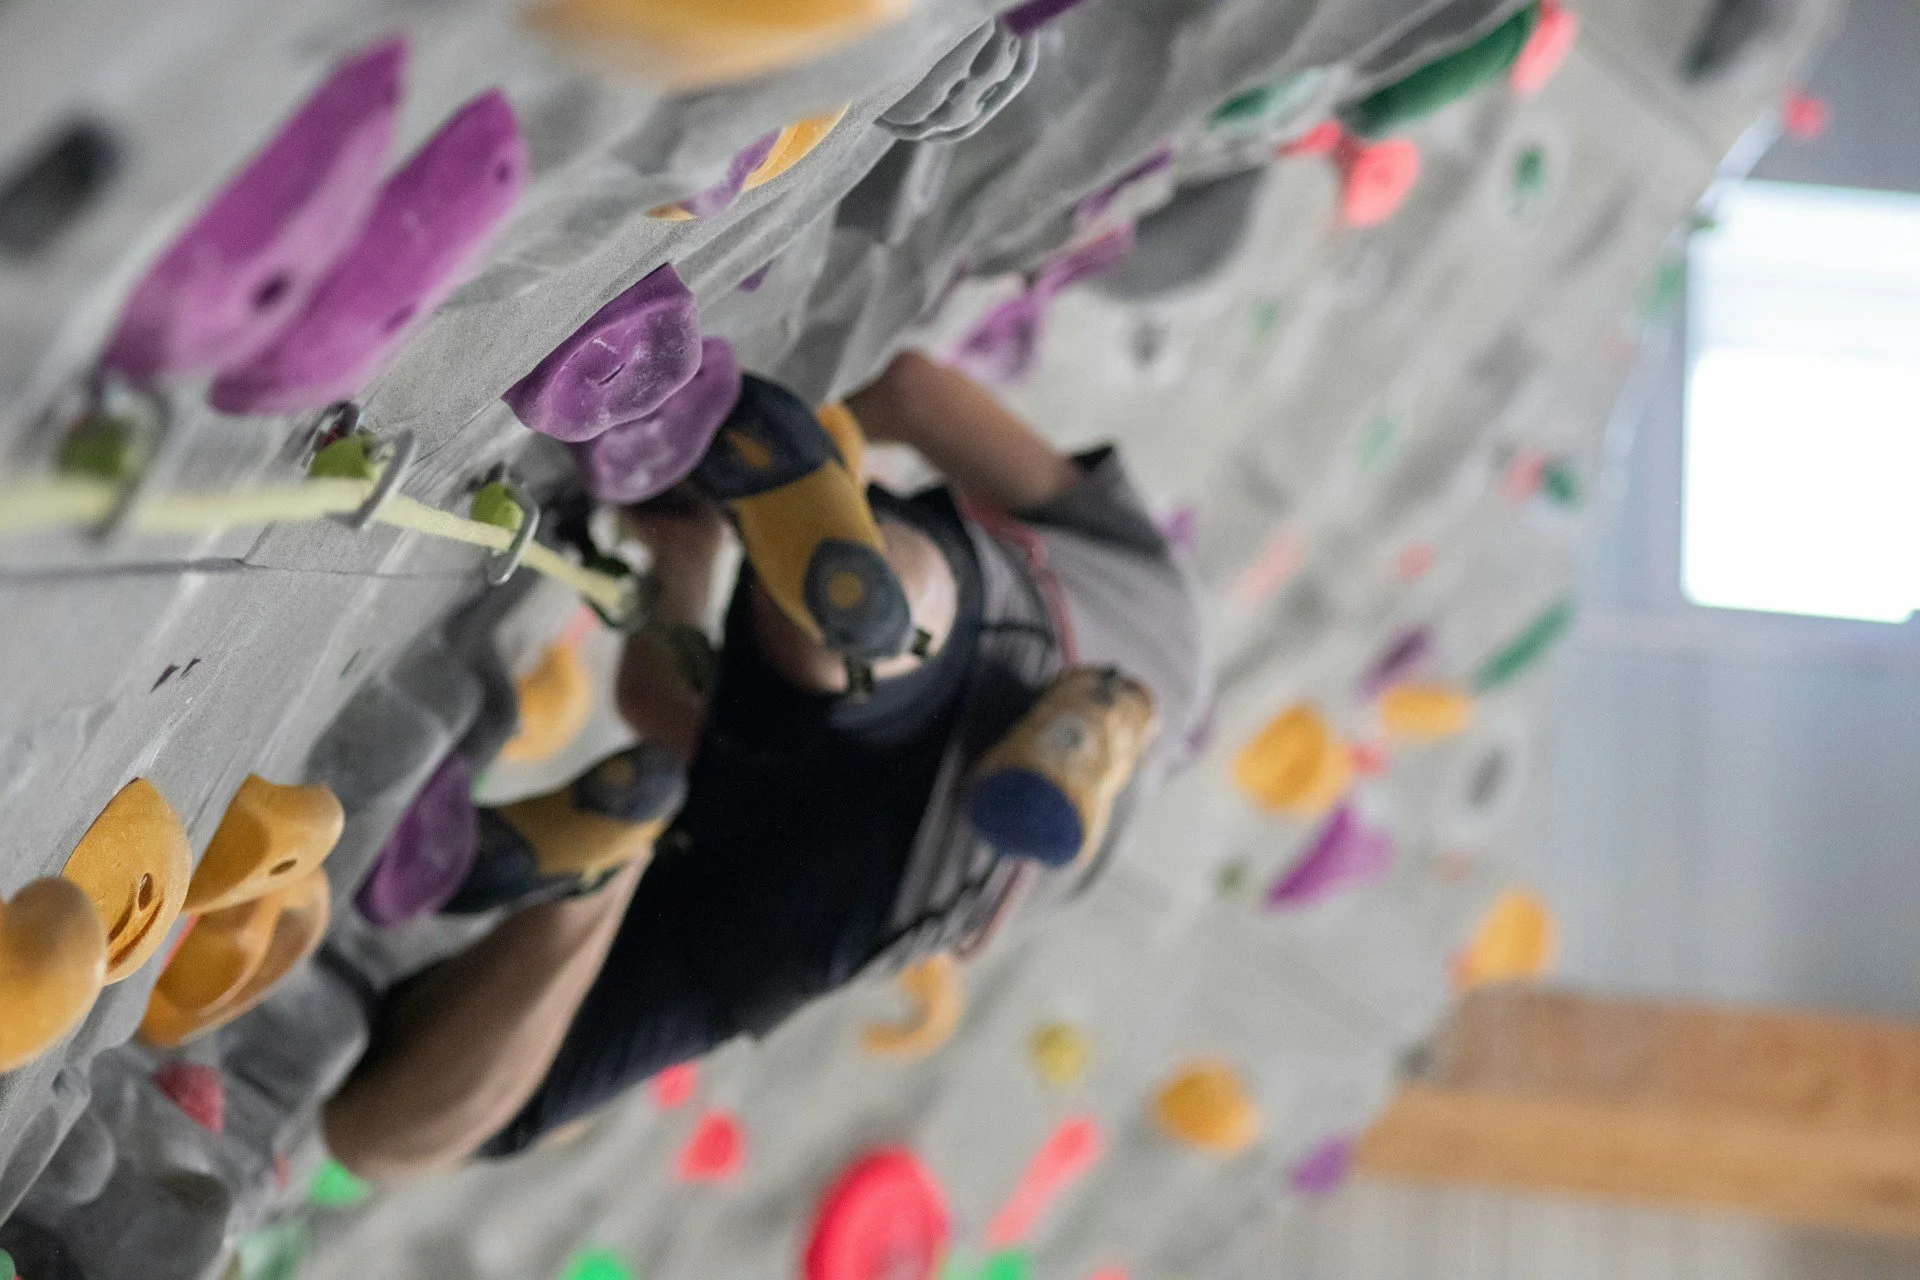
Hand Techniques: Beyond Just Grabbing
While gripping might seem intuitive, there are specific hand techniques that conserve energy and improve control.
Essential Grip Types
1. Jug Holds
Large, positive holds you can wrap your fingers around
Grip with relaxed hands, straight arms when possible
Perfect for resting positions
2. Crimps
Small, thin edges gripped with fingertips
Open crimp: fingers bent, thumb not engaged (safer for beginners)
Closed/full crimp: thumb wrapped over fingers (more power but higher injury risk)
3. Slopers
Rounded holds with few features
Maximize skin contact and keep weight under the hold
Engage your core to keep body position optimal
4. Pinches
Holds gripped between thumb and fingers
Squeeze inward from both sides
Engage thumb strength
Remember to apply these only when necessary—overgripping is the most common energy-waster for beginners and violates the etiquette principles we cover in our climbing gym guide.
Movement Techniques: Putting It All Together
Once you've mastered basic positions, these movement techniques will help you navigate more challenging routes.
Straight Arms and Relaxed Grips
Keep arms straight whenever possible (like hanging from a branch)
Engage shoulders but relax forearms when in stable positions
"Hang from your skeleton, not your muscles"
Flagging
Extending a leg out to the side for counterbalance
Prevents barn-dooring (swinging away from the wall)
Inside flag: leg crosses behind the supporting leg
Outside flag: leg extends to the outside for wider balance
Backstep/Backflag
Placing a foot with the outside edge while hip is turned toward the wall
Creates tension and stability for reaching
Enables longer reaches with less strength
Dynamic Movement vs. Static Movement
Static Movement
Slow, controlled movements maintaining three points of contact
More precise, less risky
Better for beginners and technical climbing
Dynamic Movement
Controlled lunges or jumps to distant holds
Momentarily releases points of contact
Requires timing and commitment
Start with static climbing to build fundamentals before attempting dynamic moves. This progression approach is something we emphasize in all our climbing content.
Reading Routes: Seeing the Sequence
Developing "route reading" skills helps you climb more efficiently by planning your moves before leaving the ground.
Before You Climb
Identify rest positions where you can recover
Look for crux (hardest) sections that require maximum effort
Plan body positions for key moves
Visualize the sequence from start to finish
While Climbing
Look ahead to upcoming moves
Adjust your plan based on how holds actually feel
Plan foot positions before hand movements
Recognize when to rest and when to push through
This mental aspect of climbing is often overlooked but becomes increasingly important as you progress to harder routes.
Common Beginner Mistakes to Avoid
Recognizing these frequent errors will speed up your learning curve:
Over-relying on Arms
Symptoms: Pumped forearms, rapid fatigue
Solution: Focus on leg strength and proper footwork
Remember: Your legs are stronger than your arms
Poor Breathing
Symptoms: Holding breath during difficult moves
Solution: Conscious breathing, exhaling during hard moves
Benefit: Improved focus and reduced tension
Inefficient Climbing
Symptoms: Unnecessary movements, readjusting constantly
Solution: Plan sequences, move deliberately
Practice: Climb easy routes focusing on smooth movement
Fear of Falling
Symptoms: Hesitation, excessive gripping, anxiety
Solution: Practice falls in controlled settings
Progression: Start with small falls, gradually increase (always with proper supervision)
Learning to manage these tendencies will dramatically improve your climbing experience and prepare you for the strength training principles covered in our dedicated guide.
Training Your Weaknesses
As you gain experience, you'll identify areas where your technique needs improvement:
Balance Challenges
One-footed climbing drills
Climbing without using specific holds
Slackline training (off the wall)
Footwork Focus
Climbing easy routes with no hands
Traversing focusing only on foot placement
Climbing in silent feet drills
Dynamic Movement
Controlled jumping to designated holds
Campus board exercises (for advanced beginners only)
Coordination moves on easy boulder problems
Endurance Building
Laps on easy routes
Up-down-up climbing
4x4 circuits (four problems, four times each)
Each of these training approaches should be implemented gradually as your skills develop, a principle we expand on in our Strength Training for Indoor Climbers guide.
Progression Path: A Roadmap for Improvement
Here's how to systematically develop your climbing technique over the first few months:
Weeks 1-2: Fundamentals
Master basic body positions
Focus on proper footwork
Learn essential grips
Practice falling safely
Weeks 3-4: Movement Patterns
Incorporate flagging techniques
Develop straight-arm discipline
Practice route reading
Work on fluid movement
Weeks 5-8: Efficiency
Eliminate unnecessary movements
Identify and use rest positions
Develop breathing awareness
Begin targeted weakness training
Months 3-6: Refinement
Incorporate dynamic movements
Develop specific strength for climbing
Address plateaus with focused drills
Begin climbing with intention and strategy
Learning Resources Beyond the Gym
While nothing replaces hands-on practice, these resources can accelerate your learning:
Climbing gym technique classes (often free with membership)
YouTube channels focused on climbing technique
Climbing partners who can offer feedback
Recording your climbing sessions for self-analysis
Indoor Climbing Etiquette understanding for better gym experiences
Remember that climbing is as much mental as physical—observing experienced climbers can teach you as much as actual climbing.
Putting It All Together: Your Technique Checklist
Before attempting a climb, run through this mental checklist:
Scan the route: Identify key holds and potential sequences
Plan rest points: Where can you recover during the climb?
Identify the crux: Where will you need maximum effort?
Visualize success: See yourself completing the route
Check your gear: Make sure your essential climbing gear is properly secured
Breathe and focus: Center yourself before starting
This systematic approach will dramatically improve your success rate, especially on more challenging routes.
Next Steps in Your Climbing Journey
Once you've mastered these fundamental techniques, you'll be ready to explore more advanced climbing concepts and possibly venture outdoors. Our guide on From Gym to Crag: Transitioning from Indoor to Outdoor Climbing provides the perfect next step in your climbing progression.
Remember that climbing technique develops through deliberate practice rather than just climbing randomly. Focus on quality movement over quantity, and you'll see your skills improve rapidly.
Ready to complement your technique with proper physical conditioning? Check out our detailed guide on Strength Training for Indoor Climbers: Key Exercises to Improve Your Skills to build the specific strength that supports good technique.
Happy climbing!